Using adobe premiere for TikTok videos should be a no brainer.
This is a guide covering all the technical and settings of the process from shooting to exporting.
Uploading the videos edited in adobe premiere is a different guide.
It can be done! It just requires a handful of steps to get there.
Follow the guide below.
Don’t skip steps.
Table of Contents
Shooting Video for TikTok:
Vertical video is preferred… we can cover shooting sideways with a DSLR or Mirrorless camera in the future.
This example will be done using a horizontal video. The steps will be the same with vertical video.
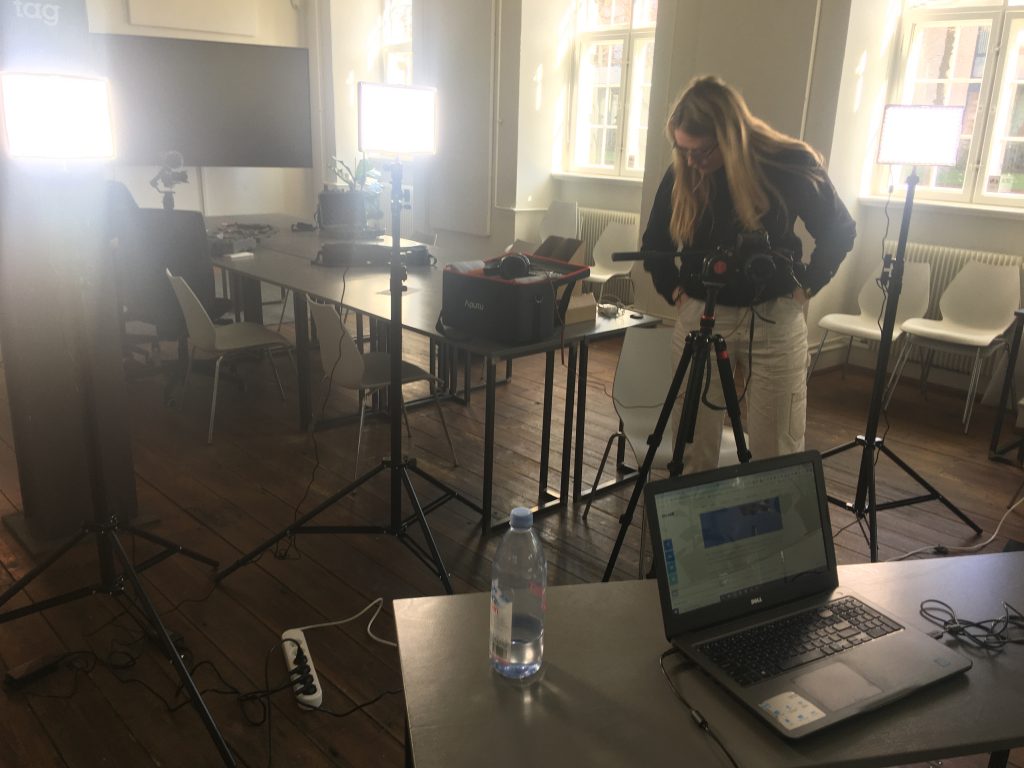
Use your Mobile or your favorite camera.
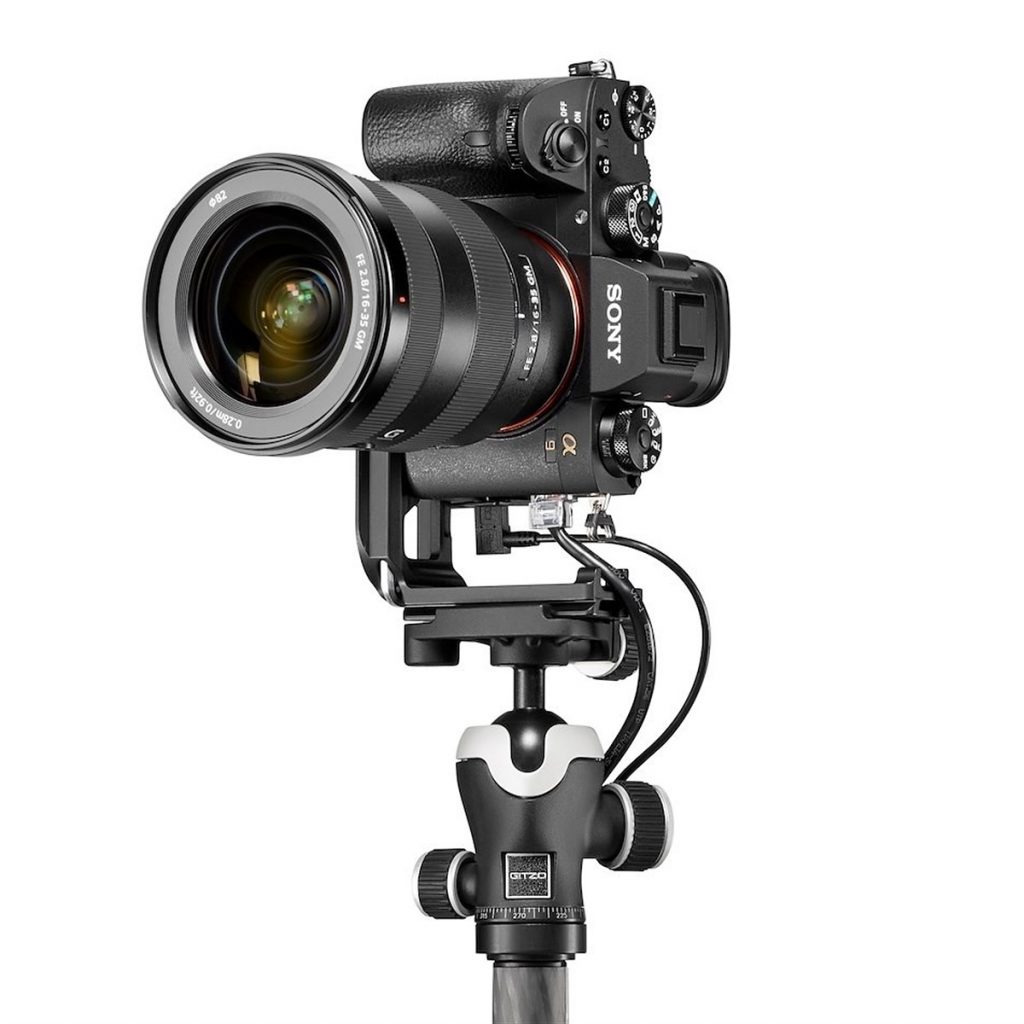
I use a Sony A7 III and it’s been an absolute blast for high-quality amateur work.
Vertical videos perform the best on TikTok.
So I turn my camera sideways like below when I shoot.
To make use of the entire screen, you’ll need to adjust the settings of adobe premiere.
Select the Video editor of your choice… you should choose adobe premiere
I use Adobe Premiere. So this guide will go through editing video in Adobe Premiere to Publish on TikTok from your PC
Adobe Premiere Rush is a new editing platform that allows you to export directly into social media platforms. This allows you to skip many of the steps below.
How To Setup Vertical Video Settings in Adobe Premiere to Edit Vertical Videos for TikTok
Get Adobe Premiere [Free for students right now] and Create a New Project.
Next, go to File > New > Click Sequence or use the shortcut CTRL + N

Next, you’ll see the source presets for your video editing project:
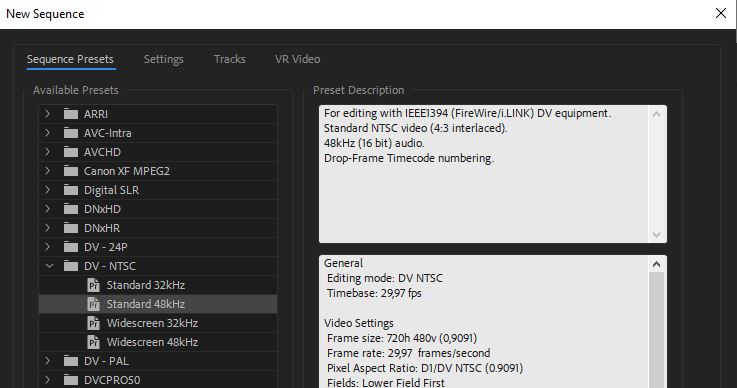
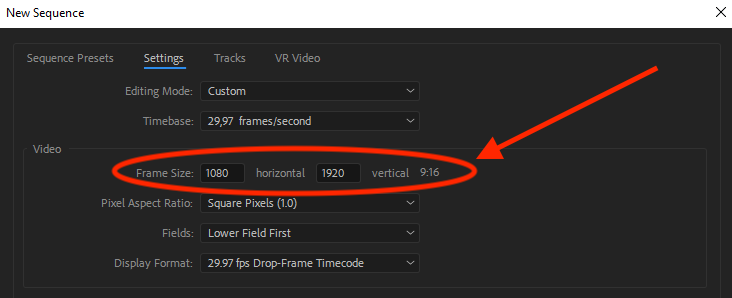
Click “Settings“
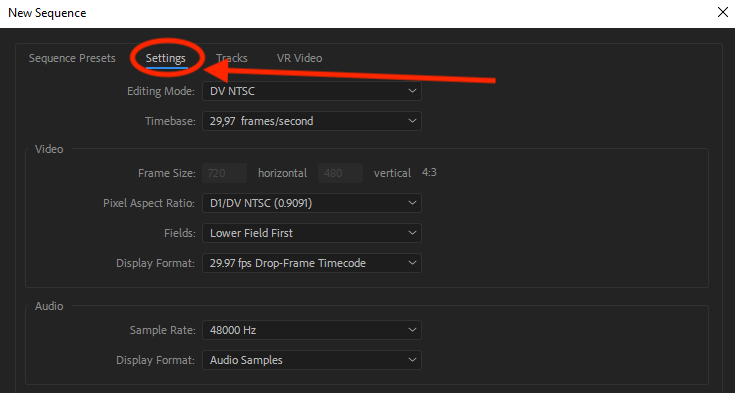
We want to set the resolution for a vertical video.
Click over to “settings” to customize the editing canvas settings.
Click the drop-down next to “Editing Mode” (it currently says DV NTSC in my editor)

Select “Custom” at the very top.
Now you can change the inputs get your vertical frame size for edit:
TikTok Videos are Vertical. This means you want to publish in a 9:16 ratio. The opposite of what most video editors are used to working with.
Inside of the fields, you’re going to add the following pixel count:
Type in 1080 for the Width
Type in 1920 for the Width
Pixel Aspect Ratio is 1:0
TikTok Recommended Aspect Ratio: For the default 9:16/1:1/16:9 aspect ratio, TikTok says you can encode at these resolutions:
- 2160p: 2160×3840
- 1440p: 1440×2560
- 1080p: 1080×1920
- 720p: 720×1280
- 480p: 480×854
- 360p: 360×640
- 240p: 240×426
I used 1080p or 1080 x 1920 for my vertical TikTok video.
Click “Save the Preset” on the lower left

Name and Save your sequence settings preset, “TikTok Video” so you can start with the right formatting for next time.
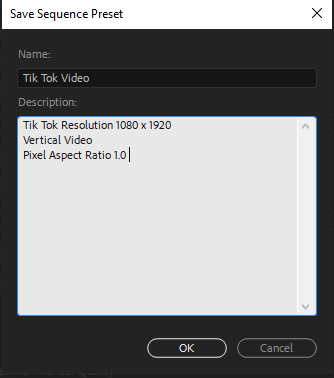
Click “OK.”
Then click “OK” again to start editing on Adobe Premiere for vertical video
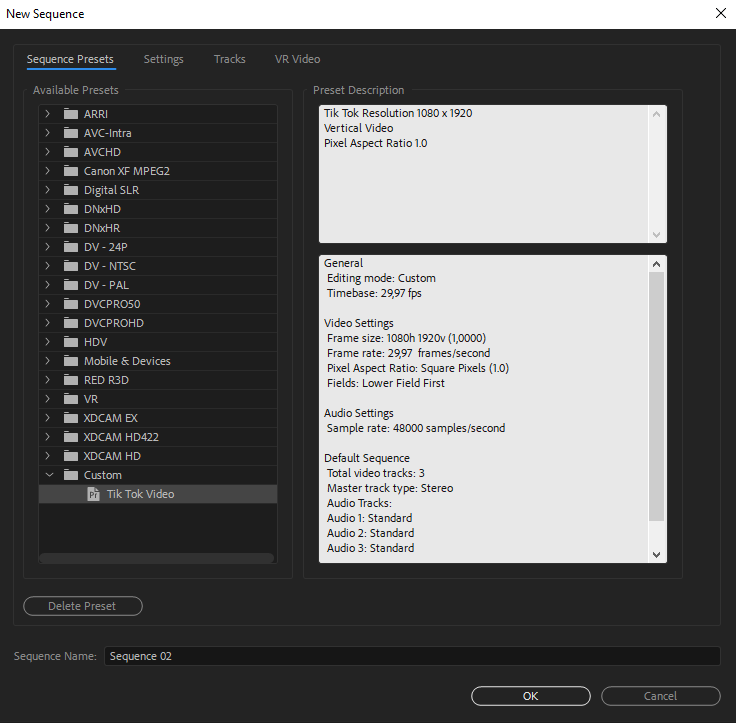
Now it’s time to import your video for editing.
Go to File > Import or just CTRL + I
Select the video you want to use. Even if it wasn’t shot vertically on your cell phone. You can, of course, download the video from iCloud for this just the same.
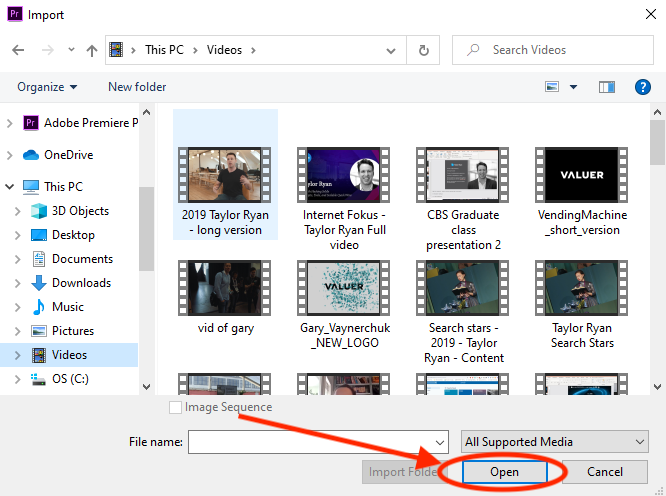
Select the clip and then click Open
The clip appears (wait for it…) in your clips. This is as easy as it gets.
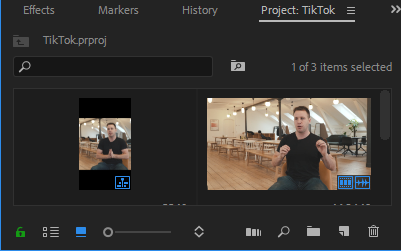
Edit the clips on the timeline.
What if you have shot horizontally and want to re-fit the clip?
Maybe you want to zoom out in Adobe Premiere. Or just change how the clip fits into the vertical sequence you’re creating.
No Problem.
Cut the portion of the video clip that you want to reframe in the timeline.
Click and drag the shorted clip over to your bin on the left and drop it in.
You can also right-click and scroll down to “Make Sub Clip.”

This creates a new clip in the bin that you can tweak as you please.
A couple of quick things for reframing.
Fit the entire clip inside of the frame aka Fit your clip in the Frame
Right clip on the clip within the timeline
Select “Scale to Frame” or “Set to Frame Size”
This helps if you want to move the video along because the action is outside of the view.
Want a little more freedom in selecting the viewable area in the vertical video sequence?
Double click on the video clip on the timeline or when it is inside of your bin.
The editing options are limited and slow inside of TikTok.
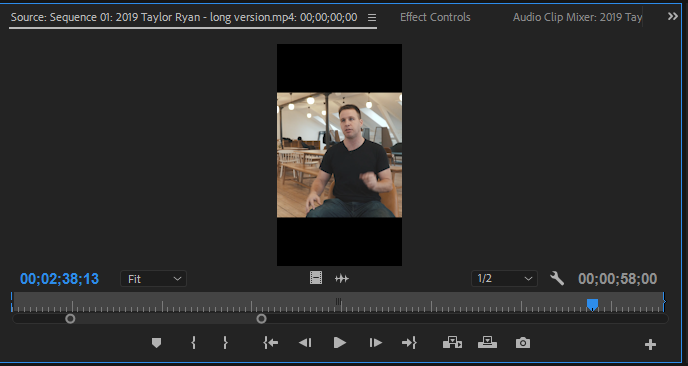
Select “Effect Controls”
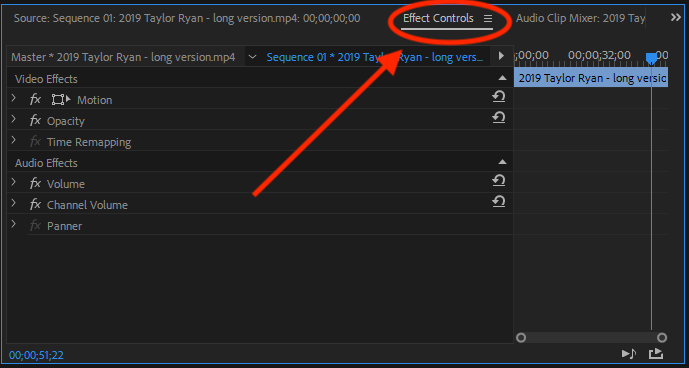
Select the drop-down on the row for “Motion”
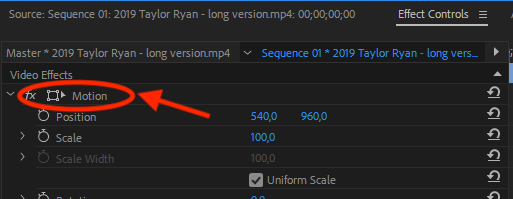
Click the box icon between “fx” and the word “Motion.”
Magically, you can now grab the video and move it around
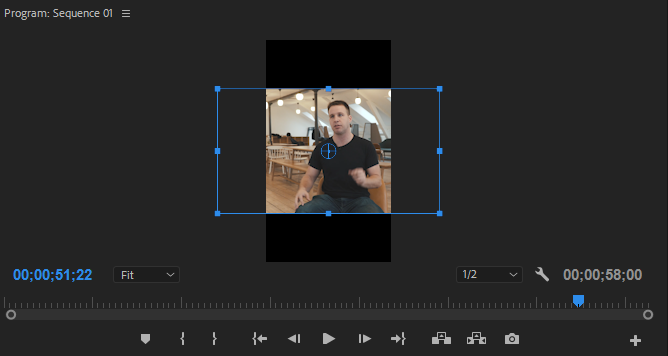
You can Shrink the video.
Slide it into the frame.
TikTok Time Duration Limits:
As you continue to edit your videos. Make sure you’re mixing up the times of the videos you produce.
Your TikTok video length can be between 0:05 seconds and 1:00 minute.
Export edited Video from Adobe Premier for Uploading to TikTok
File > Export > Media or CTRL + M
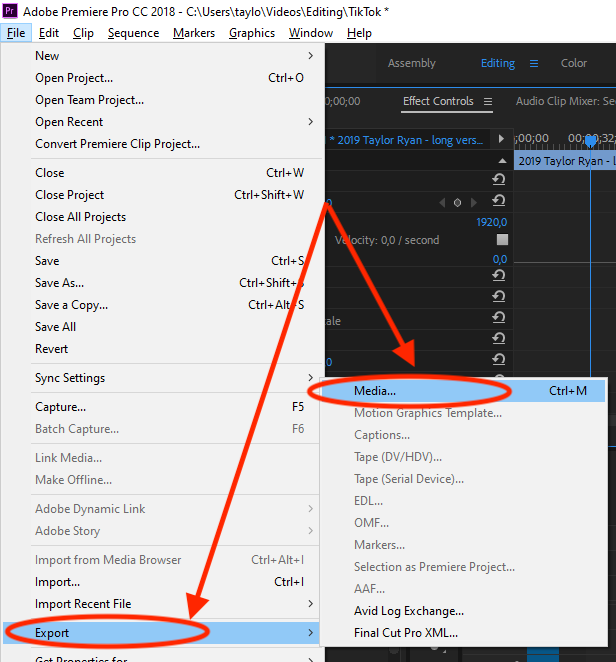
Export Settings for exporting TikTok Videos from Adobe Premiere
BEWARE – Adobe wants to export this as a standard horizontal video.
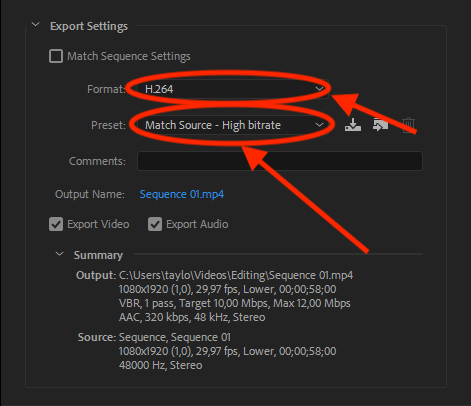
You need to set the correct format before exporting your edited TikTok video, Don’t forget!
Select the format “H.264”
Select the preset “Match Source – High Bitrate.” You’re done!

Just FYI – TikTok Accepted Formats:
- .mp4
- .mov
- .mpeg
- .3gp
- .avi
The codecs in VLC player and Windows Media Player will allow you to preview the video before you upload it.
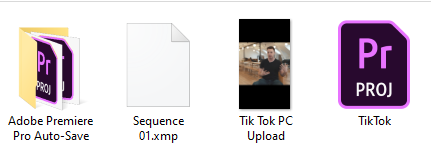
You can be sure the video works even if you’ve screwed it up by uploading your video to Youtube
Change the publishing setting to Private or Unpublished if you don’t plan on releasing it.
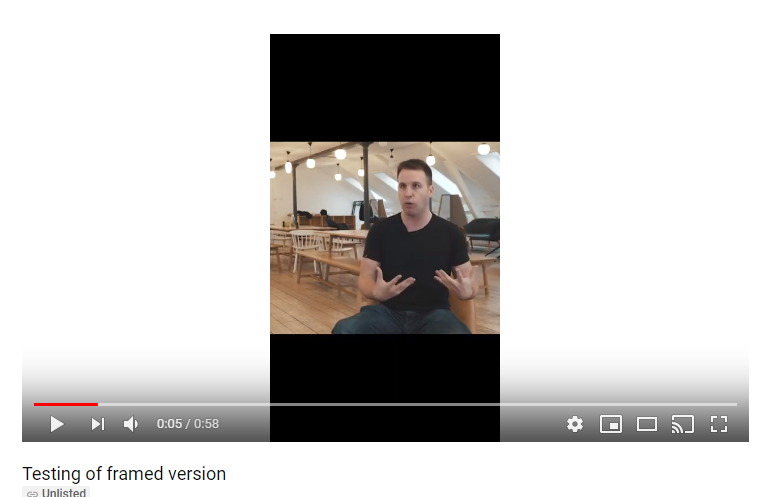
Video File Size Limits on TikTok
This video is well under the 500 MB file size. The file size was 71.3 MB
The Bitrate Resolution for TikTok:
TikTok Claims they need it to be 516kbps. You’ll be fine.



At first I couldn’t get it to work in imovie, it creates the vertical looking black background. Within Premiere Pro, if you follow the export settings- you’re solid. Thanks!
This was so helpful! thank you so much!